Bike Safety: How to Pick the Right Lights For Your Wheels
![]() by Thomas Jackon · Aug 30, 2023
by Thomas Jackon · Aug 30, 2023
I can’t see a thing. I hope I can get home safely. Have you ever found yourself in a situation where these words crossed your mind? If you are like me and use a bike as a main source of transportation, it’s a scary thing to try to get home as quickly as you can when you’re passing through dimly lit areas. But all of these stressful and anxious moments can be avoided by investing in the right bike lights for your four-wheeled companion.
Contents
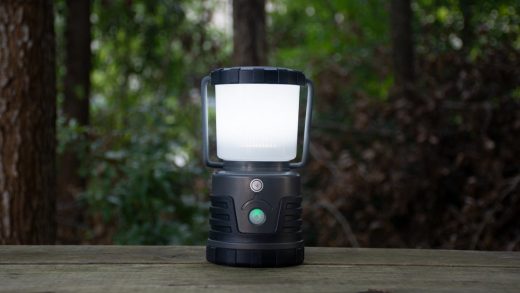
Head Lamp
Many people appreciate having attachable accessories when they ride their bikes due to the level of convenience and functionality they bring. One such accessory is a rechargeable headlamp that stays securely in place regardless of the type of terrain you cover. Among the potential options, the sturdy and bright Fenix lamps are known for giving outstanding performance when it comes to illuminating your pathway.
You can get a Fenix lamp with either a rechargeable headlamp that has different settings for LED lighting or a model that uses disposable batteries. You can use both options as a spotlight and floodlight giving optimal vision abilities so you don’t need to fall over any rocks.
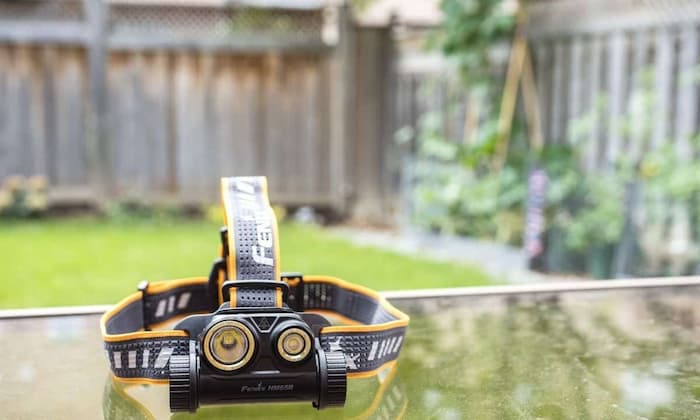
LED lighting has been the newest and yet best light for many places that need clear outside vision. While riding on a dirt path down a mountain slope after sunset the Fenix lamp’s maximum output of 3,000 lumens put together will keep you safe. No unexpected obstacles will come your way as this beam of light will clearly illuminate your surroundings.
These torches pack some real power so be sure to position the headlamp so that the beam is directed slightly downward and illuminates the road ahead. This prevents blinding oncoming traffic or pedestrians while still helping you. This rule of thumb is just the same when driving a car. We don’t keep the head beams on to ongoing traffic to be kind.
How to Purchase a Headlamp
- The fit is a crucial part of wearing a headlamp. You want to ensure that the straps are securely fastened and adjusted to fit your head comfortably not too tight. Any loose ends can quickly be secured by using elastic straps or a buckle.
2. Look for a headlamp with adjustable brightness and beam patterns. How this works is by simply pressing a button, the headlamp will either brighten or darken depending on what you need. If you want more of a general area light, you can set it to floodlight. If there’s an object far away that needs to be illuminated, the spotlight is your best bet at that.
3. Battery life plays a key role in the device’s overall performance. Any headlamp worth its salt should have a battery life that lasts for hours and can quickly be recharged via USB. Choose one with an indicator light that will let you know when it’s time to plug in. Even if you get a model with disposable batteries, check their life expectancy before purchase.
Front Bike Light
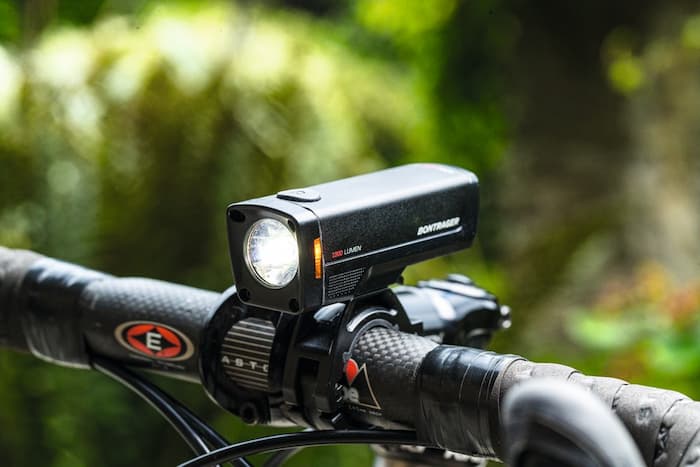
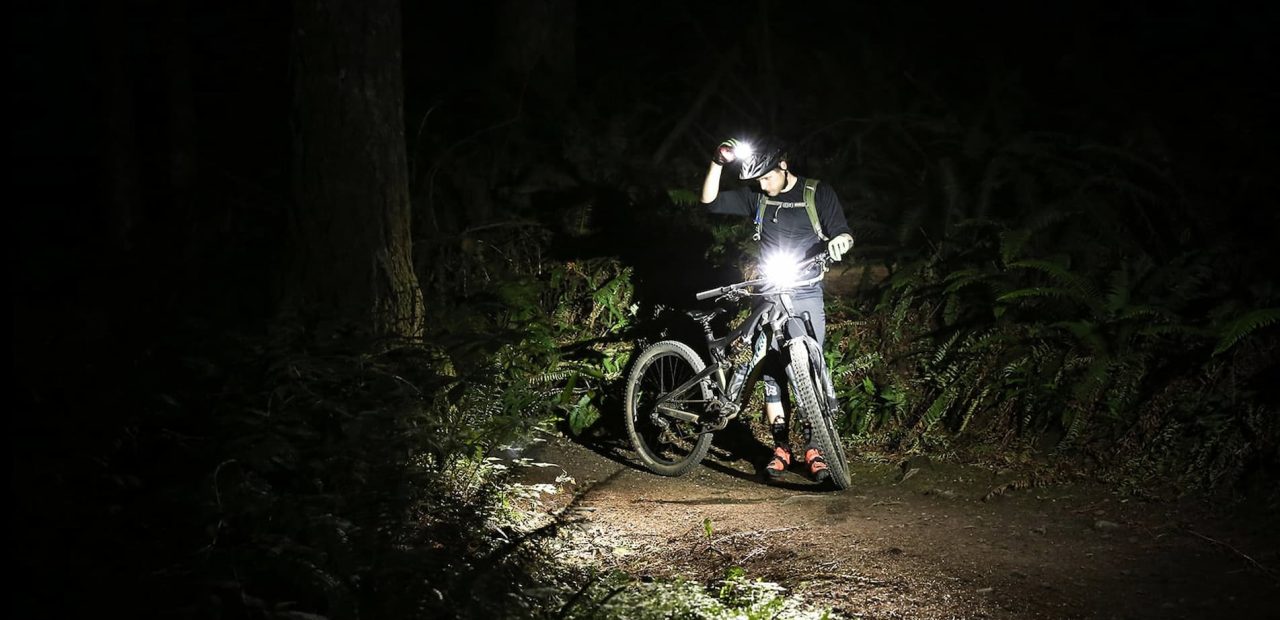
Now you’re about to hit a new trail and rather than adding anything to your body you prefer a mountable bike light to attach to your bike. I understand the need to not have added baggage.
A mountable bike is best as Led. Although you may find many that seem tiny they pack a lot of power inside. When it comes to adding additions to our bikes, the lighter the better. This will allow your speed to not be slowed.
You’ll have no shortage of models from Fenix lamps in this department either. Some of the brand’s most prolific models come with two 18650 Li-ion batteries and a 2200 lumen output which still keeps you in control with bursts of power on demand. They also come with a quick-release bicycle mount for easy assembly and dismantling.
What to Look for When Purchasing a Front Bike Light
- Ensure you have high lumens for your bike light, as the higher the lumens, the brighter and more visible you will be to those around you. Of course, you don’t have to go for the brightest option available but higher numbers will definitely give you better visibility. Aim for a light with at least 2,000 lumens to ensure you are seen on the roads.
2. The beam pattern is also important. Some lights have a focused beam that provides a long-distance throw, while others have a wider beam that offers better peripheral visibility. A combination of both can be ideal for different riding situations such as on a trail or a road.
3. Look for a device with multiple light modes, such as high beam, low beam, flashing, and strobe. These features will give you more control over the light’s range and power, depending on what type of situation you’re in. For instance, if you require assistance, you can quickly switch to the flashing mode to grab attention.
4. Think about durability and quality, as you want a device that will last you for many years. Look into its water-resistance properties and tactile feedback – this will give you an idea of how well it will hold up against thunderstorms and bumps. You should also consider its weight as the heavier the light, the more challenging it will be to maneuver.
Back Light
Now that we have a few options to protect your front, the back is just as important. A tail light acts as a red stop sign – it’s as if you say to those around you – hey, I’m here, please watch your step. Every cyclist should have a rear light that is bright enough to be seen in the dark.
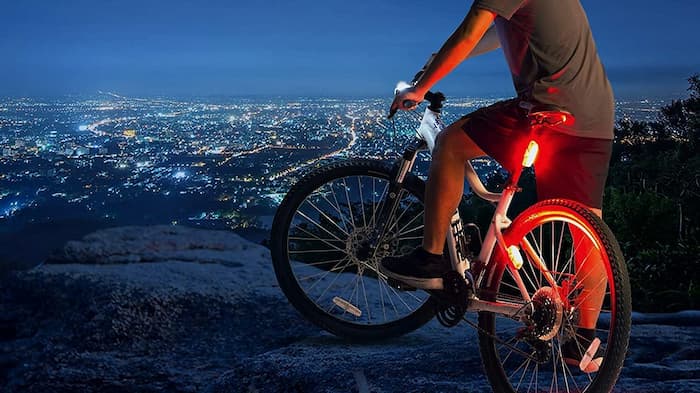
You can find options that have handy features such as USB charging and can emit red light from up to 200 meters away, or models with 120 minutes of run time that can beam a distance of 50 meters. That’s about the length of 5 buses, which is more than enough to alert anyone of your presence.
What to Look For When Purchasing a Back Light
- Your tail light should have a wide-angle beam pattern so that you can be seen from all directions. It doesn’t have to be a super bright light, but it should be visible from far away.
2. Consider the size and weight of your new light especially if you plan to use it on your helmet or clothing. Smaller is always better.
3. To avoid wasting time having to take off and put back on your backlight purchase one with built-in sensors for both acceleration and deceleration. This way, your light can turn on and off automatically when you start and stop riding.