Beginner’s Guide To Automotive Heat Shield
![]() by Thomas Jackon · Mar 8, 2022
by Thomas Jackon · Mar 8, 2022
Have you ever driven – or just ridden – in a vehicle where it felt like the heat coming up through the floorboard and off the firewall was twice as hot as the temperature outside? If you have, then there’s a good reason for it. The ambient temperature alone of a naturally aspirated engine compartment can average between 70-80°C, while turbocharged engine compartment temperatures can easily exceed 125°C … and it’s all being radiated into the vehicle’s interior. And as uncomfortable as these temperatures can become for occupants, the same heat stresses can be outright detrimental to a car’s electrical components. It’s why manufacturers put so much emphasis on materials to minimize heat transfer.
Suffice it to say, heat’s not too much of an issue for most modern vehicles. For older ones though, it’s a completely different story: one that the owners of these veteran vehicles would be very happy to see ( … and feel) could have a better outcome. Fortunately for them, there’s a very real solution.
Cool it Down
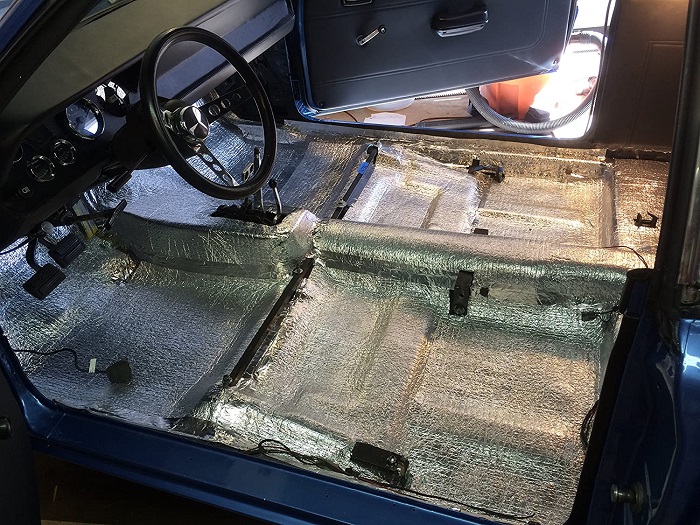
If you’re in the process of restoring, upgrading or simply refreshing your vehicle’s interior; while the carpets and dashboard are out of the way and there’s nothing but perfectly prepped sheet metal ahead of you, now’s the perfect time to install the stick on heat shield material that’ll introduce a whole new level of comfort to the passenger compartment.
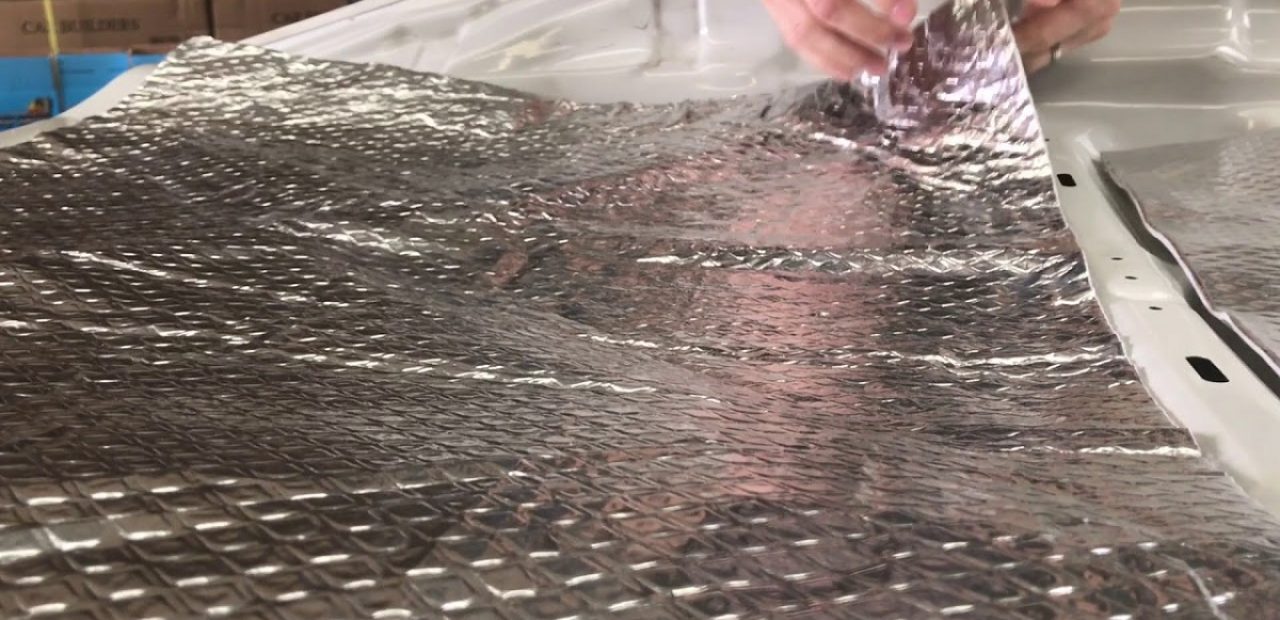
Pressure sensitive adhesive heat shielding are composite-cored polyester and fibreglass blends that’re faced with a heat resistant aluminium cover. With peel and stick backing and aluminium facing, they’re available in 2 face thicknesses: a lighter 0.05mm covering that’s good for forming around irregular shapes; and a heavier 0.25mm covering that’s ideal for flat surfaces, as well as areas where the highest radiant temperatures are likely to be encountered.
30 hours of oven testing at 246°C also precedes this type of adhesive heat shield, ensuring that the material you’re installing isn’t just appropriate for vehicles that weren’t previously insulated, but are a direct replacement for the classic jute-type OEM heat insulations that may (or may not) have been backed with light aluminium foil, and have begun to delaminate or decompose over time. Cooling down the interior has never been easier.
Keeping Your Cool – Inside and Out
Ideally, the areas you’ll want to apply a heat resistant shield to are any areas where heat can penetrate or cause a pervasive problem for more than just for the vehicle’s occupants. Electrical components aren’t immune to the adverse effects of heat; so the goal is to keep as many areas that are exposed to intense heat as cool as possible … both inside and outside the vehicle.
Inside the vehicle, you’d want to apply a heat shield to large panels where radiant heat is most like to create discomfort.
- Along the floorpan in the areas that are directly above exhaust and crossover pipes, and mufflers, and in the footwell area that’s immediately behind headers, collectors, and turbo plumbing.
- Against the interior side of firewalls facing either front or rear-mounted engines, and where other heat-producing components like ignition coils may be mounted.
- Above transmission and shift tunnels where the heat radiating from rotating assemblies can sometimes enter through access panels.
You’re most likely to encounter OEM heat shielding both under the vehicle and inside the engine compartment. Changes are, however, that there won’t be very much of it – the bulk of which will very likely be more metal placed against hot metal, leading to some truly complex issues of heat transfer. These are also prime areas for applying an adhesive heat barrier.
- To the maximum possible extent – and especially if the engine’s been removed – apply it to the inside of the firewall directly behind the engine, and above the headers and collectors.
- Apply it to the underside of bonnets, and along wheel wells and battery boxes where radiant heat can have a cumulative effect on components like batteries and other electronics.
- Apply it to underbody surfaces directly above the mufflers.
And to ensure your underside shielding doesn’t become frayed, dislodged or a reservoir for moisture and dirt buildup, applying adhesive heat shield tape around the edges of the composite material guarantees a seal that’s as watertight and grime-free as it is heat resistant. It’s well-spent time to make sure everything’s as cool as it can be.
Hot Pipes, No Problem
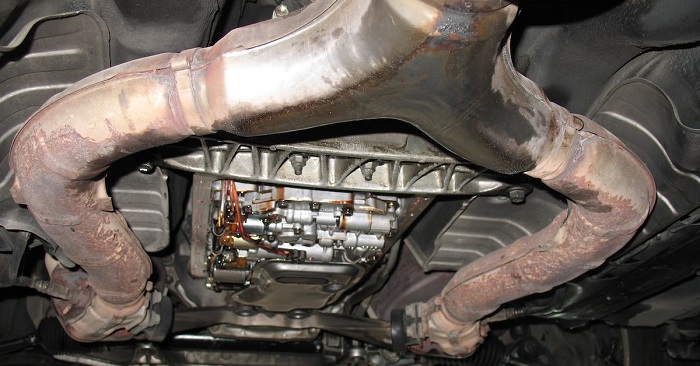
It’s no surprise that in the fight against heat transfer, exhaust pipes would come their own set of unique challenges. The temperature of exhaust pipes sitting directly under the floorpans – that is, mere centimetres from the occupants – can average around 200°C; so concentrating even more heat protection around them only makes sense.
Semi-rigid, exhaust heat shields are the answer here. They’re constructed from soft aluminium, and designed specifically to be shaped and moulded around even the most intricately devised exhaust systems, and their stainless steel mounting hardware ensures they’ll never rust or corrode.
In short, they’re a perfectly customizable solution that’ll reduce the radiant heat from exhaust systems by up to 90%. That’s how you cool those hot pipes down.
The Last Word
In the end, it’s a combination of light and heavy heat shielding that’s going to work best for minimizing heat both inside and out. And again, you have to remember that controlling the heat isn’t just about passenger comfort. Heat will damage automotive components just as quickly as it can dampen the occupant’s spirit, so installing high-quality stick on heat shield material is an investment that can actually save as much cash in the long run as it’ll save sweat. If you thought you had a cool ride before, you’ll be amazed at what a difference this kind of cool is going to make.