How to Create Stunning Abstract Art with Alcohol Inks
 by Jennah Marshall · Jun 17, 2025
There’s something incredibly satisfying about watching alcohol inks flow and blend. Their bold colours and unpredictable movement make them ideal for abstract art, especially if you’re keen to let go of strict rules and enjoy the process. Whether you’re completely new to the medium or just want to experiment, you should know the basics so you can have as much fun as possible and get an amazing result.
Contents
Materials You’ll Need
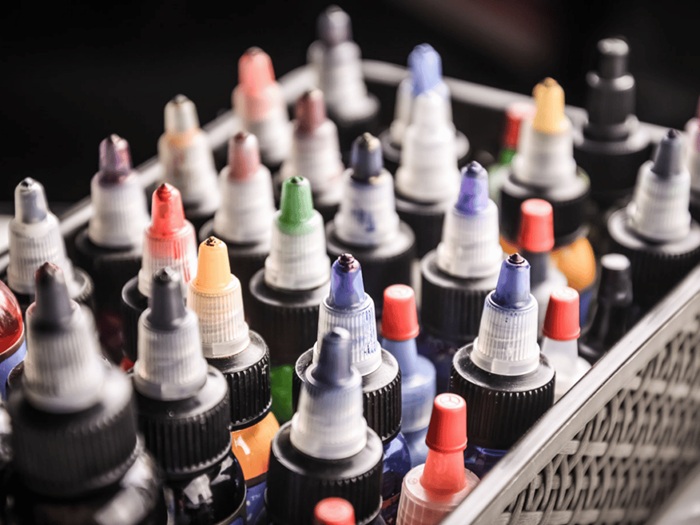
Before starting your project and expressing your creativity, you should gather all of the supplies you’ll need. Start by taking alcohol ink. You can buy it from a craft store or online. Buy a few colours to get you started. Do your research and find the best quality alcohol ink Australia has to offer. This way you won’t have to struggle to get the colour you want.
Next, get some isopropyl alcohol that has 91% purity or higher. You’ll get a better movement of the ink and create nice effects. Use a non-porous surface for painting. Most people use Yupe paper. However, ceramic tiles, metal and synthetic papers also work. Get an air-blowing tool such as an air puffer or a hairdryer but on a low, cool setting.
Brushes are optional, but they’re great if you want to create finer details and be in control of the art. Gloves and an apron are a must because these inks can stain your clothes and make everything messy. To protect the surface you’re working on, spread a plastic tablecloth or some baking paper underneath. To finish everything off, use a UV-resistant varnish or resin.
How to Set Up the Space
No matter where you work, inside or outside, make sure there’s enough ventilation. These types of inks have strong fumes and it’s not smart to sit in enclosed spaces. If you’re working indoors, set up near an open window. If there aren’t any windows, use a fan to keep the air circulating. Make sure to cover the surface to protect it from stains.
Keep every material within your reach because once you start your work everything should move quickly. Take some paper towels or cotton pads and have them at hand for blotting and cleaning excess ink. Of course, have a bin or a container in case things get very messy and you need to use a lot of paper towels.
Main Techniques to Try
There isn’t a right or wrong way to use these inks, especially when it comes to abstract art. The goal is to explore and play around with the tools. There are a few methods and techniques you can try that are great for beginners.
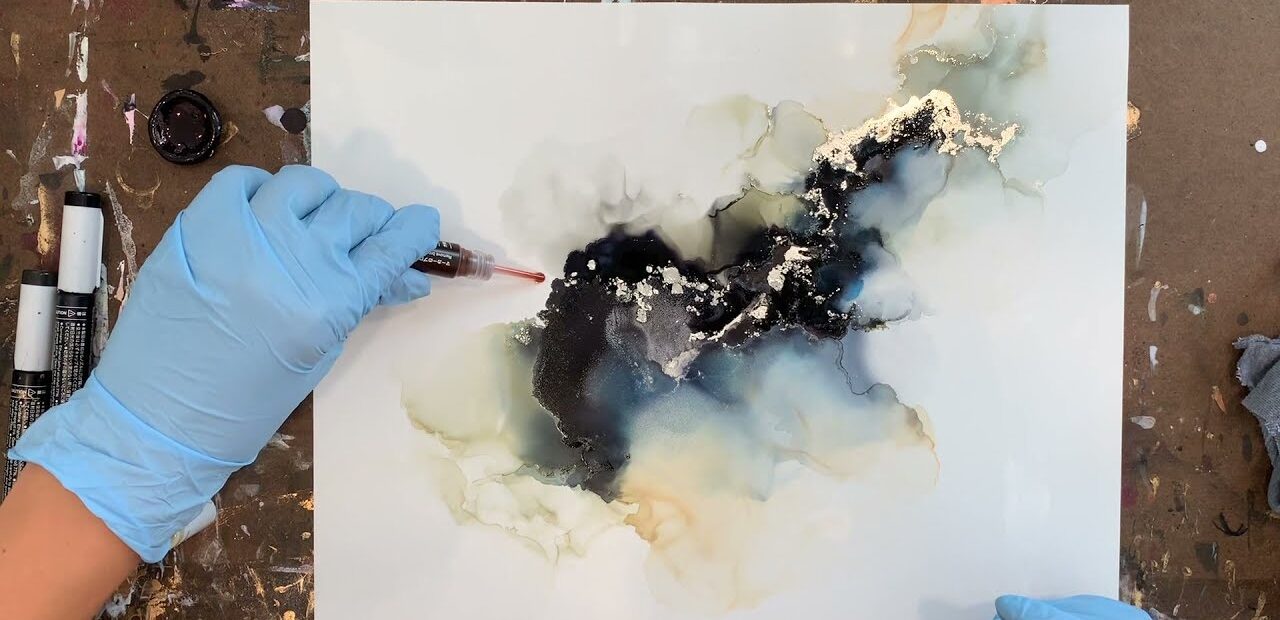
Dropping and blending, for example, is very simple. You simply drop a bit of ink on the surface and add a few drops of isopropyl alcohol. As you add the alcohol, the colour will expand and soften. You can try to layer a few different colours like this and then gently tilt the surface to guide the ink in different directions.
Blowing with air is a fun technique. You can use a straw, a puffer or a hairdryer to push the ink. As a result, you’ll get organic shapes that are typical of abstract art. If you want to get tighter lines, use short bursts of air. For a softer, sweeping pattern, use longer blows.
You should also learn how to layer colours. Make sure you let each layer dry before adding the next one. This brings depth to the art piece and will prevent everything from turning into a muddy puddle.
If you want to play more, you can always reactivate the ink by adding a bit of alcohol. Using brushes and tools can make things a lot more fun and interactive. You can use them to push the ink in different directions and create textures. For a textured look, drop or spray isopropyl alcohol onto wet ink. The alcohol repels the pigment, leaving behind rings, bursts, or lacy textures that feel spontaneous. It’s important to find the best alcohol ink Australia has to offer. This way you’ll get great results no matter what you do.
Tips for Making Abstracts
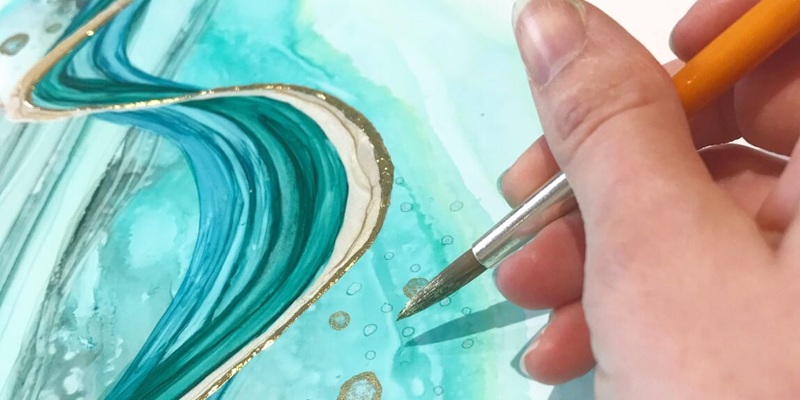
Abstract art is all about provoking a feeling and not so much about creating recognisable images. To create a striking piece, use 2-4 colours that complement each other. As a beginner, you can start practising this with analogous colours such as blue, teal and green or use variations of one colour.
Don’t rush the process. Work slowly and observe the movement of the inks. Pause between steps and watch how the ink responds. In some cases, less is more. Make sure you balance your composition. It doesn’t have to be symmetrical, but make sure it has some flow, something that the eye can follow.
You’re making abstract art, but don’t overwork it. Sometimes you’ll feel tempted to add more ink, but this can muddy the colours and make it messy and heavy. Stop when it feels right. You can always start another piece. Relax and enjoy the surprises because oftentimes, they’re the best part of the process.
Finishing and Preserving the Art
Once you’re satisfied with how your artwork looks, let it dry completely. The drying time is different depending on how much ink you use. To protect your piece from UV damage you’ll need to seal it. Use UV-protective varnish and apply it in thin, even coats. Let each layer dry before adding the next. If you’re working on tiles or wood use resin coating. It gives a glassy, professional finish. Once you seal it, you can frame the art or leave it as it is.
Common Mistakes
- Muddy colours – stick to a limited palette, and let the ink dry before adding a new layer;
- Harsh lines and blobs – soften the edges by adding isopropyl alcohol or blow gently to redistribute the colour;
- Ink not moving – the surface might be too absorbent, or you may not be using enough alcohol;
- Unwanted dips and splashes – dip a cotton swab in alcohol and lift the unwanted spots or let them dry and add another layer of ink on top.
Inspiration
Once you learn the basics, there are so many directions you can take. You can try a painting with a specific theme or emotion in mind. You can use the different techniques to create sunsets, oceans or even chaos. Later, you can experiment with metallic inks and combine them with fine liners and gel pens for more details.