A Beginner’s Guide to Dyeing Leather
 by Jennah Marshall · Apr 24, 2026
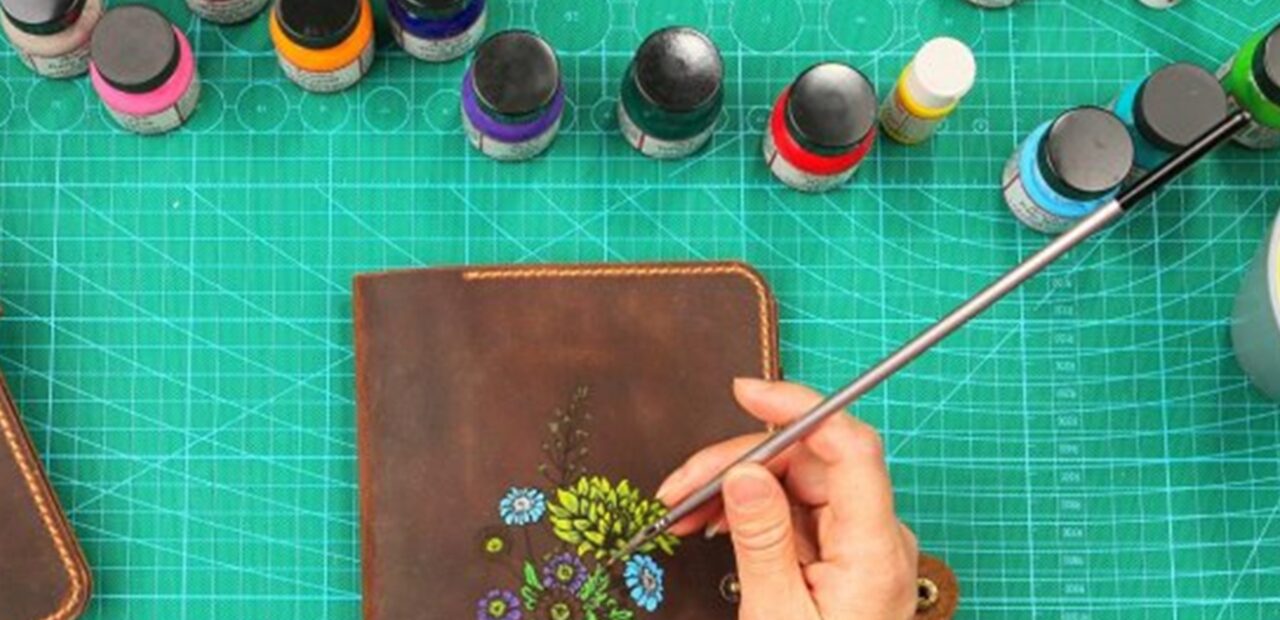
Leather has a unique ability to age with character. But sometimes that character needs a refresh. Whether you’re restoring a faded belt, customising a wallet, or finishing a handmade project, dyeing can completely transform the look and longevity of the material. Choosing the right leather dyes and understanding the correct process is the difference between a patchy, uneven result and a rich, professional finish that lasts for years.
Unlike surface paints that sit on top of the material, true leather dye penetrates the fibres. This allows the natural grain to remain visible while delivering deep, vibrant colour.
Contents
Types of Leather Dyes
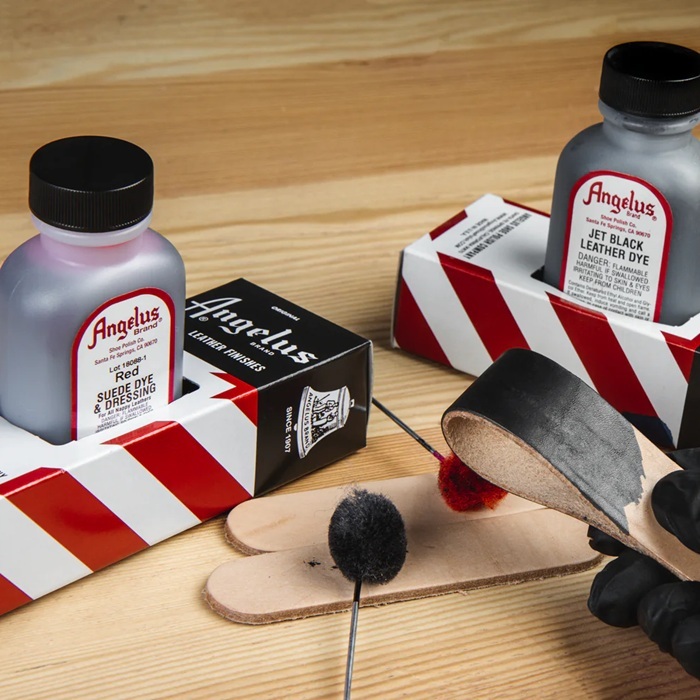
Not all lasting leather dyes behave the same way. Each type has its own strengths, drying time, and application method.
Alcohol-Based (Spirit) Dyes
These are among the most popular options for vegetable-tanned leather. They penetrate deeply, dry quickly, and produce bold, vibrant tones. Spirit dyes are ideal for projects where strong colour saturation is required, but they can dry fast. This means you must work smoothly to avoid streaking.
Water-Based Dyes
A beginner-friendly choice, water-based formulas offer more working time and a lower odour. They’re easier to blend and create more subtle colour transitions. They’re also a better option for indoor workspaces where ventilation may be limited.
Oil-Based Dyes
Oil-based dyes for leather are known for delivering exceptionally even coverage and rich, natural-looking finishes. The oil content helps reduce streaking and gives the leather a slightly conditioned feel after application.
Gel Antiques
Technically not a full dye, gel antiques are used to highlight tooling and carved details. They settle into low areas and create contrast, producing a vintage or “weathered” effect that enhances texture and depth.
Essential Tools & Materials
Preparation and protection are just as important as the dye itself. A well-organised workspace leads to better results.
Preparation Tools
- Leather deglazer or preparer to remove factory finishes and oils
- Fine-grit sandpaper for smoothing rough areas
- Lint-free cloths for cleaning and wiping
Application Tools
- Wool daubers for controlled application
- High-density sponges for larger surfaces
- Airbrushes for professional gradients and even coats
- Sheepskin remnants for soft, natural blending
Protection
- Nitrile gloves (essential to avoid stained hands)
- Drop cloths to protect your workspace
- Masking tape for clean edges and colour blocking
Post-Care Products
- Leather conditioner or neatsfoot oil to restore suppleness
- Top-coat finishers such as resolene or carnauba wax to seal the colour
The Step-by-Step Dyeing Process
A professional-looking result is always built on careful preparation and patience.
Surface Preparation
Clean the leather thoroughly using a deglazer or preparer. This removes waxes, oils, and factory coatings that would otherwise block the dye from penetrating evenly.
Hydration
Lightly dampen the leather with a clean sponge. The surface should be slightly moist, not wet. This helps the dye spread more smoothly and prevents harsh edges or blotches.
Application
Load your applicator lightly and work in circular motions. This technique distributes the dye evenly and prevents streaks. Always build colour in thin layers. One heavy coat may seem faster, but it often leads to uneven absorption and a stiff finish. Multiple light coats allow you to control depth and tone.
Drying and Buffing
Once the leather is fully dry, buff the surface with a clean cloth. This removes excess pigment that hasn’t bonded with the fibres. Skipping this step can lead to colour transfer later.
Setting and Sealing
Apply a protective top coat to lock in the colour and prevent crocking. The unwanted transfer of dye onto clothing or hands. This final layer also adds water resistance and enhances the finish, whether you prefer matte, satin, or gloss.
Safety & Environmental Considerations
Working with leather dye is safe when done responsibly.
Ventilation
Always work in a well-ventilated space, especially when using alcohol-based products. Open windows, use fans, or work outdoors if possible.
Responsible Disposal
Do not pour leftover dye down the drain. Allow small amounts to dry out before disposal, and follow your local waste guidelines for chemical products. Used applicators and cloths should also be disposed of carefully.
Choosing the Right Dye for Your Project
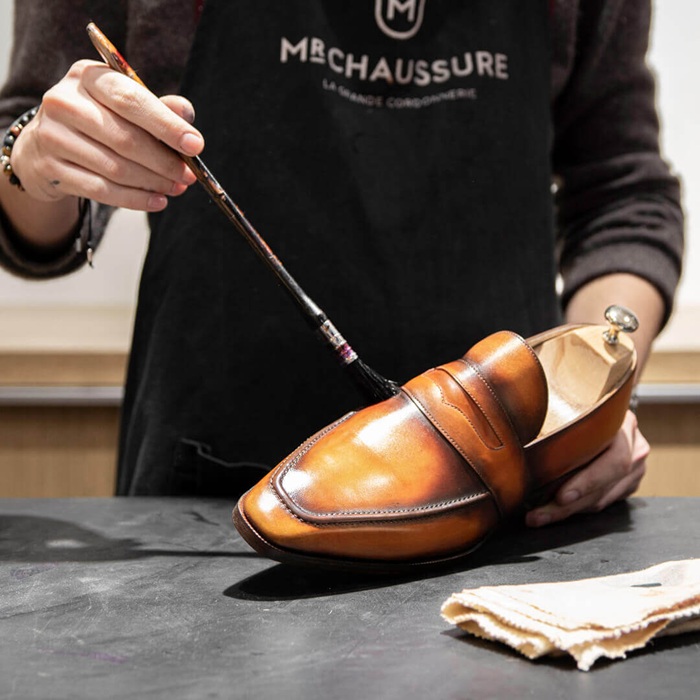
Your choice depends on three key factors:
- Type of leather – Vegetable-tanned leather absorbs dye best
- Desired finish – Bold and vibrant vs. soft and natural
- Work environment – Indoor spaces favour low-odour, water-based options
When browsing leather dyes for sale, consider starting with a small bottle for testing and practice.
Common Beginner Mistakes to Avoid
- Applying dye to dirty or sealed leather
- Using too much product at once
- Skipping the buffing stage
- Forgetting to seal the colour
- Not testing the colour first
Each of these mistakes can affect the final result, but they’re easy to avoid with a methodical approach.
Bringing Your Leather Back to Life
Dyeing leather is one of the most satisfying ways to personalise and restore a piece. Watching a dull, lifeless surface transform into a rich, custom colour brings a level of craftsmanship that mass-produced goods can’t match. With the right tools, proper preparation, and a high-quality dye for leather, even beginners can achieve professional results. Take your time, work in thin layers, and always remember the golden rule: test your colour on a scrap piece or an inconspicuous area before committing to the entire project.