Choose and Install the Right Canopy for Your Ceiling Pendant
![]() by Thomas Jackon · Dec 15, 2020
by Thomas Jackon · Dec 15, 2020
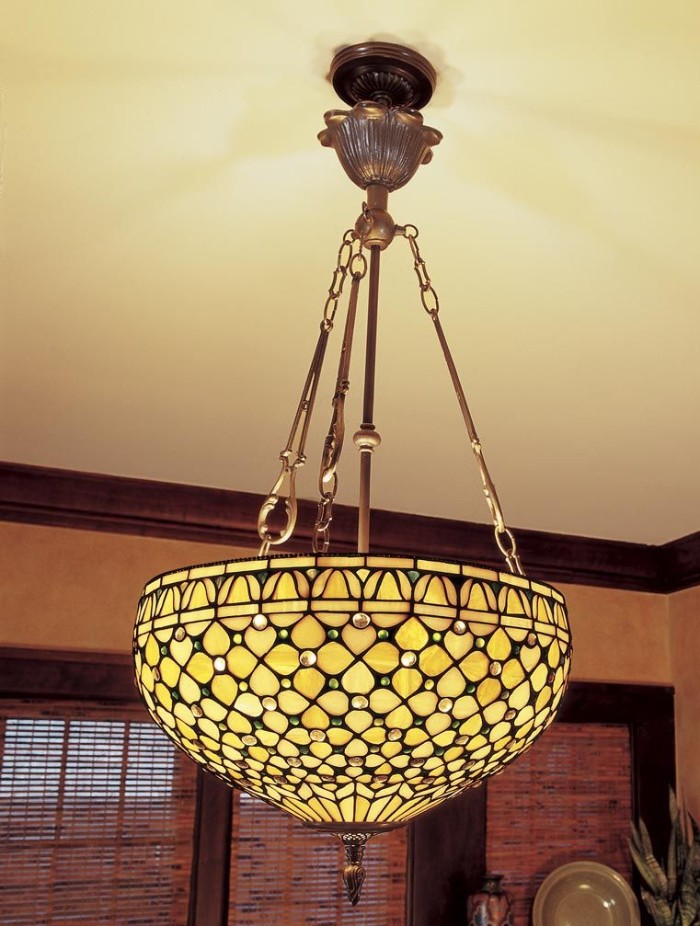
Ceiling canopy refers to the part of the light that connects to your ceiling or wall. This part has a hole in it in which the light wire comes out and attaches to your light.
Many people have no idea which ceiling canopy should they get for their light, but there is no black and white answer to it. It mainly depends on what you want to do with your lights, the number of pendant lights you want to hang from the ceiling and in general what kind of look you want to accomplish.
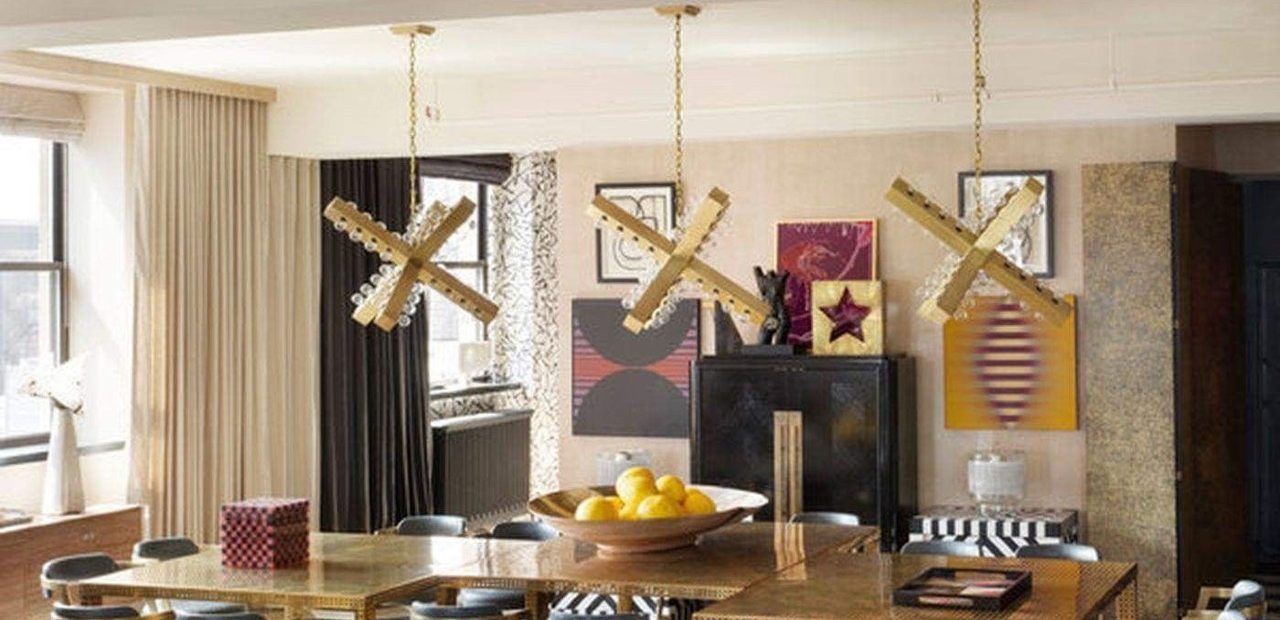
The pendant light canopy is the rounded, broad coverage that is pressed to the ceiling and hides the not so aesthetic looking wiring and hardware. It is usually held in place with several screws.
The best way to install the right model is with the help of your electrician. Ask them about the type and model and which one would fit the best.
You could easily get lost in the plethora of models, so before you make your final choice, let’s discuss several important things you should consider.
Contents
Your Interior Design Style
Source: pintrest.com
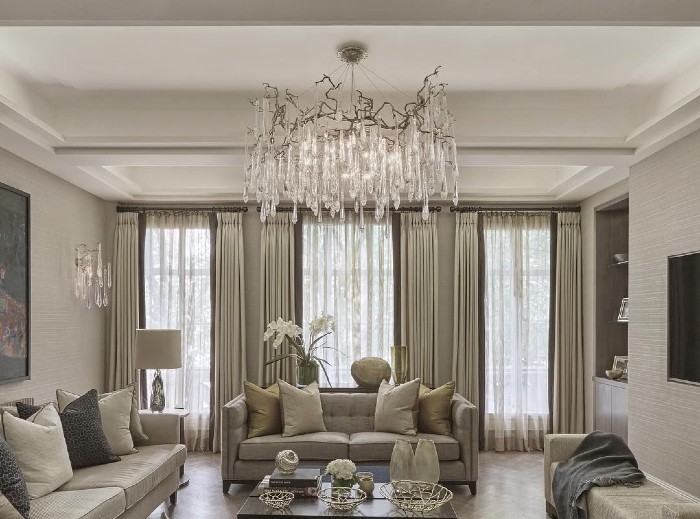
Before you buy the chandelier canopy, you should consider your room’s interior design. Although the light fixtures come in the end, don’t forget that they could either complete or ruin the entire look of your room.
Is your room contemporary, modern, traditional or transitional? You can buy any type of fixture, but that doesn’t mean it will be suitable for your interior design. Based on this, and of course, on the model of your chandelier, you should pick the light canopies. Once you define this, you could start your purchase.
Mounting
The mounting is one of the most important parts. Consider where the new fixture will be hung; is the place wet or damp, is it in a bathroom, on your porch, hallway. The place will determine the stem and the pendant light canopy.
Stem
Source: pinterest.com
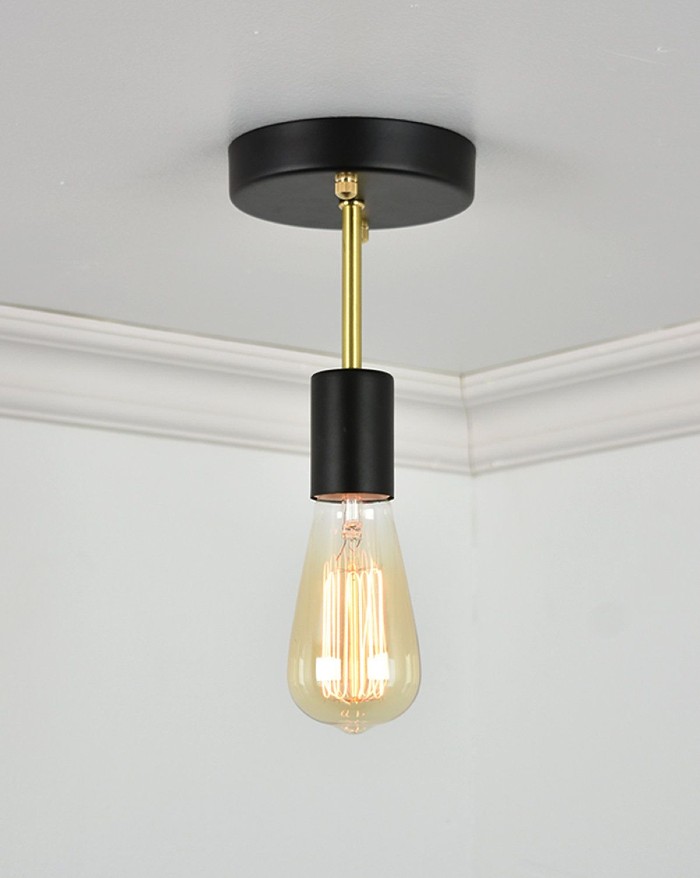
The stem mount light fixture has a metal pipe which is hung the fixture from the ceiling. This metal pipe protects the electrical wiring that goes from the socket up to the electrical box.
Stem mounted pendants include canopy options that help with the fixture’s performance. The canopy is the decorative plate, and in most cases, it’s round. It’s pressed against the ceiling and covers the electrical box. The stem can be hung from a standard canopy, a hang-straight canopy, or a heavy-duty canopy.
Standard Canopy
This model is excellent for the flat ceiling, and for shades that measure up to 45 wide (for all indoor applications).
Heavy-duty Canopy
Source: pinterest.de
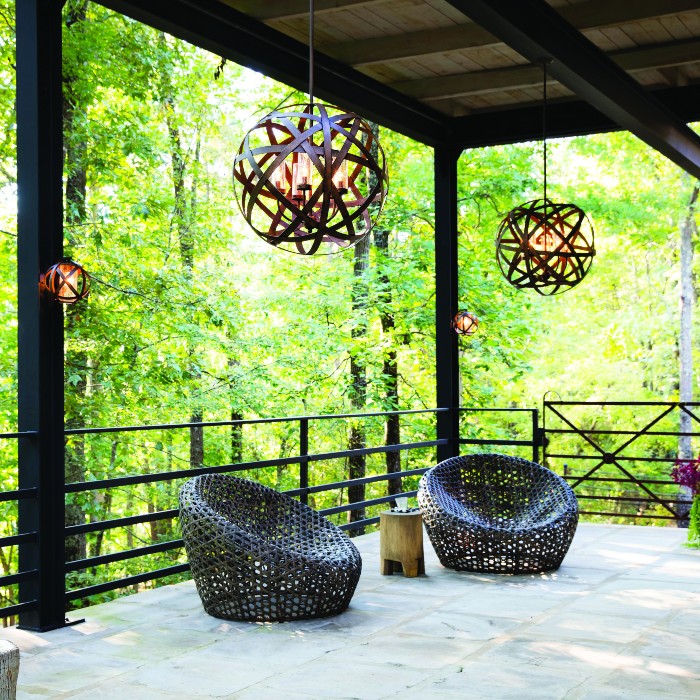
Get this one if you want to install your lights outdoors, where they will be exposed to wind. A heavy-duty canopy is also a good option if your lights have long stems. Heavy-duty canopies are rugged and are suitable for shades that are bigger than 45cm. You can also go with this one if you add options such as wire cage or cast-guard-and-glass unit to your shade.
Hang-straight Canopy
This one is superb for sloped ceilings. It keeps the lighting well and hangs straight. It comes with a ball and socket attached to a backing plate that allows the stem to adjust and rotate.
Installing Lighting for Your Metal Canopy
Source: interior-design.cy
The best way to run the conduit and wiring with the canopy for the lighting is to run the conduit on top of the canopy once it was installed. This has many benefits such as hiding the conduit and letting the canopy and lighting installer to work separately, instead of making chaos and entangling each other.
The result will be – a clean look on the underside of the canopy because lighting conduit isn’t required to be painted to match the canopy.
What if the Canopy is Too Small?
Start by cutting off the bottom legs of the separator plate. Use a tool that can cut plastic at a nearly flush angle.
Mark the separator for cutting. Recessed lights should have a paper template for drawing a circle on the ceiling before cutting.
Put the template in the centre of the separator plate and secure it with a few strips of painter’s tape. Draw a circle with a pencil and remove the template. Then simply do the cutout.
Fit the trim
Fit the new trim over the fixture. If there are any melted plastic parts around the cutout, scrape them off. The new created trimmed piece should be placed up and over the light fixture. It’s very likely that you’ll have to rotate the ring back and forth a little bit, so it can ease over the protruding sections on the light fixture.
Mounting
Mount the light fixture with the new trim piece on the ceiling hole in the end. In case the ceiling hole is too small, use a hand-held jab saw and file away the drywall. In case the ceiling hole is in the wrong place, you’ll have to fill the wrong hole. Simply screw two support sticks above the drywall to cover the hole.